January signals a crucial period for gardening. This time of outer dormancy is when we begin to plan for the coming year, poring over seed catalogues and visualizing what our gardens will look like in six months. It’s tempting to give in to the hype of “new year, new you,” envisioning a fuller garden, and fast. But in the same way that crash diets can backfire, planning to buy most of your new flowers or vegetables as seedlings raised in nurseries has a profound environmental cost, to say nothing of being quite expensive. This year, why not resolve to plan our gardens in a way that limits damage to the natural spaces that enclose our yards?
Starting veggie and flower seeds indoors, whether under grow lights or in a sunny window, is an excellent way to minimize costs to the environment and wallets while optimizing the varieties we grow beyond the handful of options a big box gardening store might offer. Each store-bought seedling runs $3-$4, an established perennial flower could go for between $10 and $40, but one seed packet priced around $3 could yield dozens of plants. Sowing your own seeds also eliminates environmental damage in the form of carbon emissions produced by shipping the plants from greenhouses to garden centers, to say nothing of the attendant waste of packaging materials.
But when we start seeds indoors, we eventually have to (carefully!) transplant them to their real home outside. What if there were an easier way to get a headstart on the eco-friendly garden of your dreams?
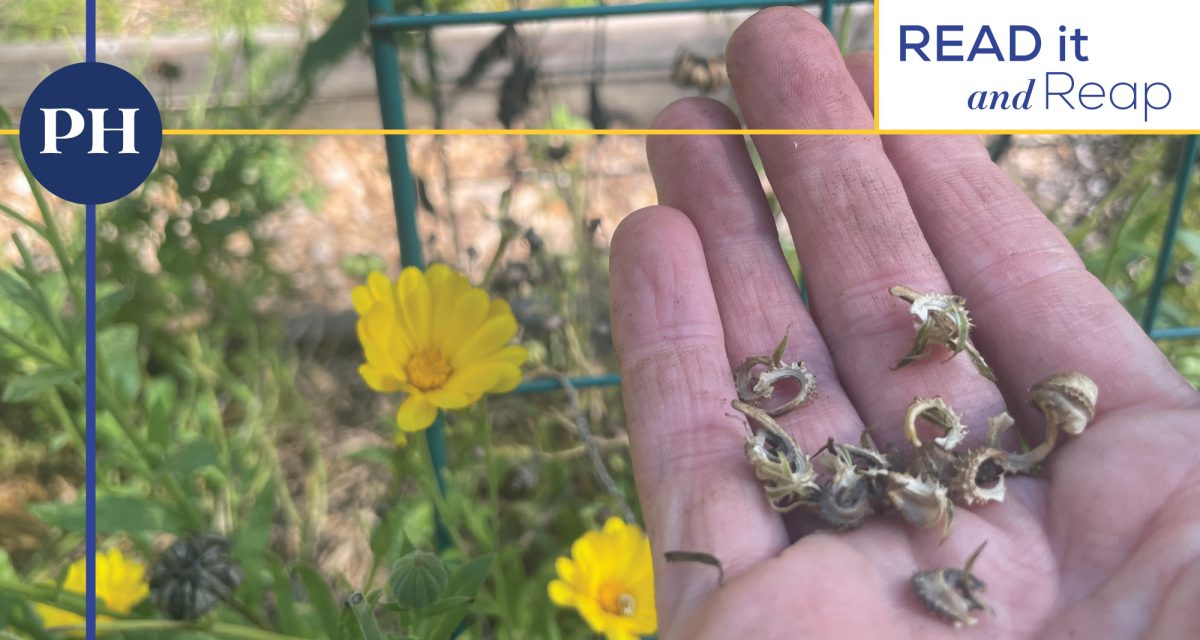
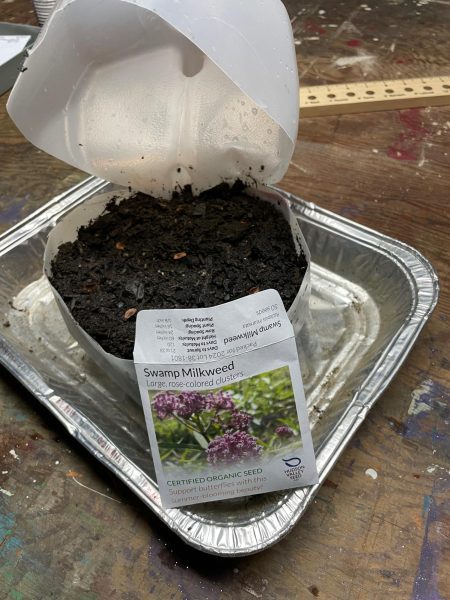
Enter the practice of winter sowing. Many native perennial plants that will fill your yard with the kind of beauty that benefits both human eyes and wildlife populations can be started this way, as well as many herbs and even some vegetables. Winter sowing especially helps gardeners leverage the needs of some plants to germinate through stratification, that is, a period of cold followed by warming to break down the seed coat. It may look different–a cluster of milk jugs repurposed as little greenhouses–but this is my favorite way to turn winter’s garden dreams into reality, and all without having to dig in the cold!
Why Try Winter Sowing?
- It’s less work: Let Mother Nature coax seeds awake a little earlier. Unlike refrigerating seeds, then transplanting them once the period of dormancy is over, seeds go directly into a growing medium that will be their home until they’re planted into the yard. And since the seeds are “housed”, there’s less threat they’ll be eaten by hungry critters.
- It takes less (indoor) space: Once planted, winter sown containers are placed in a sheltered area where they won’t easily be blown away, freeing up window sill and tabletop real estate once taken up by seed flats.
- It’s inexpensive: Required materials include (free) upcycled clear plastic containers, seeds, tape, and a growing medium like potting soil. Factor in some tools you probably already have (namely, a sharp knife or kitchen shears, and a permanent marker), and you can produce literally hundreds of seedlings.
- It’s exciting: Antsy gardeners can take advantage of this coldest time of the year rather than lament it. Each winter sown container is its own little greenhouse, affording a front row seat to the first shoots of spring! (Keep in mind, however, that not much will appear to be happening until spring.)
- Once again, it’s eco-friendly. Winter sowing vessels are removed from the waste stream and can be used again and again with a good washing. Grow masses of seedlings rather than buying individual plants that require fuel and extra plastic to transport.
How to Set Up Your Winter Sown Garden
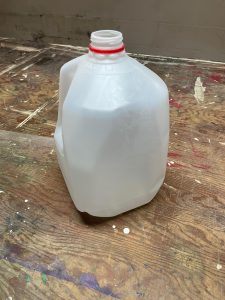
1. Select your container: For size and ease of photosynthesis, the best option is a transparent milk jug, but any tall, clear-ish container with a small opening will work. Don’t normally have these items in your commingled bin? Consider this your invitation to solicit some of your neighbors’ plastic vessels in the name of green resolutions!
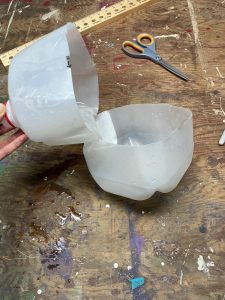
2. Prep the container: Wash well, then perforate the bottom for better water flow by making 4-6 holes at regular intervals around the bottom. Measure up 4-5 inches from the bottom, and cut around all but a small portion to serve as a hinge.
3. Plant the container: Fill with moistened, pesticide-free potting soil up to the 4 inch line, and sow your seeds according to species requirements. Tape the cut closed, and label the container with the contents and date sowed.
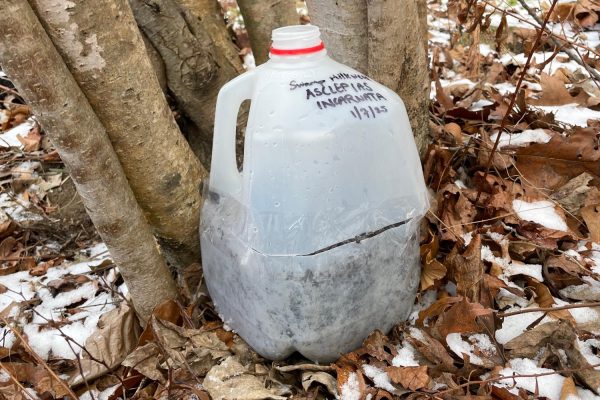
4. Put it outside: Position in a sheltered area outside, with the small top opening uncovered. This way, small amounts of precipitation can enter the container but hungry animals are kept at bay.
When to Winter Sow
First and foremost, be sure to refer to the sowing instructions for specific varieties of seeds for how long the plant needs to germinate, but keep this in mind as you plan the timelines for sowing in our area:
The fun of winter sowing has just begun! Check in with your winter sown jugs as the period of stratification finishes up for sprouting plants, and check back in with “Read it and Reap” in the early spring with ways to support your new seedlings!
Wondering about specific native wildflower species to winter sow? Interested in a list of heirloom vegetables for your Spring 2025 garden? Or would you like to showcase a picture of your winter sown garden? Email her at [email protected] and look out for answers in a forthcoming “Ask a Gardener” column!


