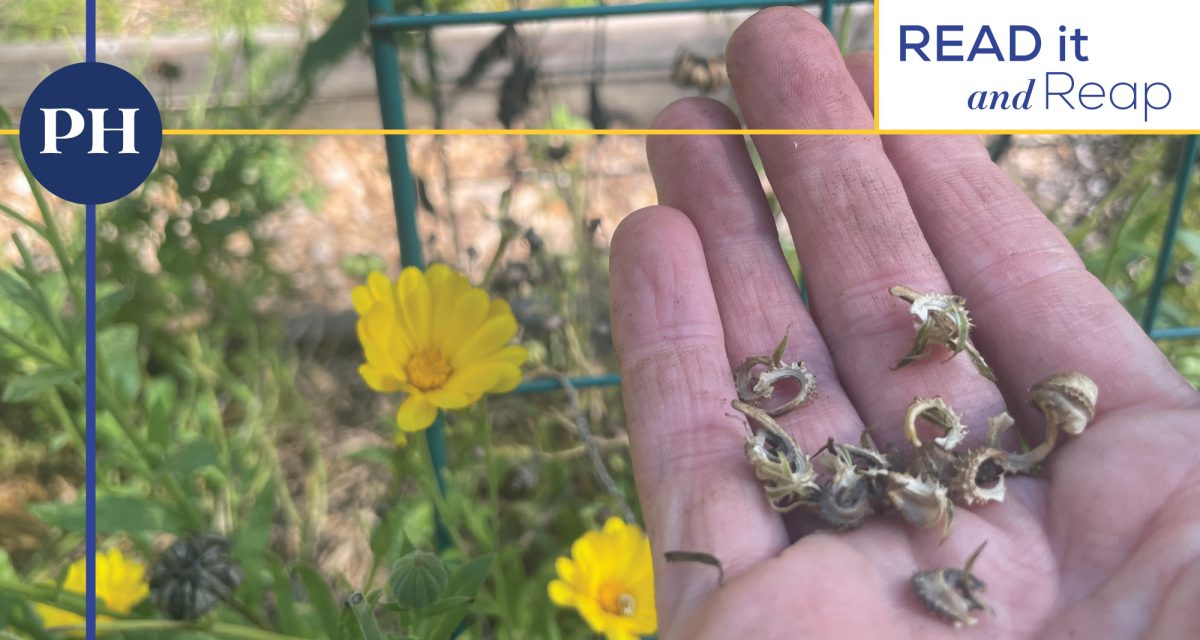

It’s almost the most wonderful time of the year – garden planting season! I’ve compiled some questions (and answers) chosen to help get your garden in the ground, whether it’s your first or fiftieth.
I’m excited to start my very first garden, but lack the funds and expertise to build raised beds. What’s the best way to make a bed for veggies and flowers?
Starting from the beginning can be daunting, but the easiest and quickest way to reap a bounty of flowers or vegetables is to build a no-dig bed. This method adds organic material in a thoughtful way on top of existing ground with minimal preparation. The no-dig or no-till method enriches the soil, enabling existing microbial networks to thrive and smothering weeds rather than stirring up their seeds. It’s also (arguably) less work and less expensive – since the no-dig bed is frameless, you won’t have to buy two by fours now or replace them later.
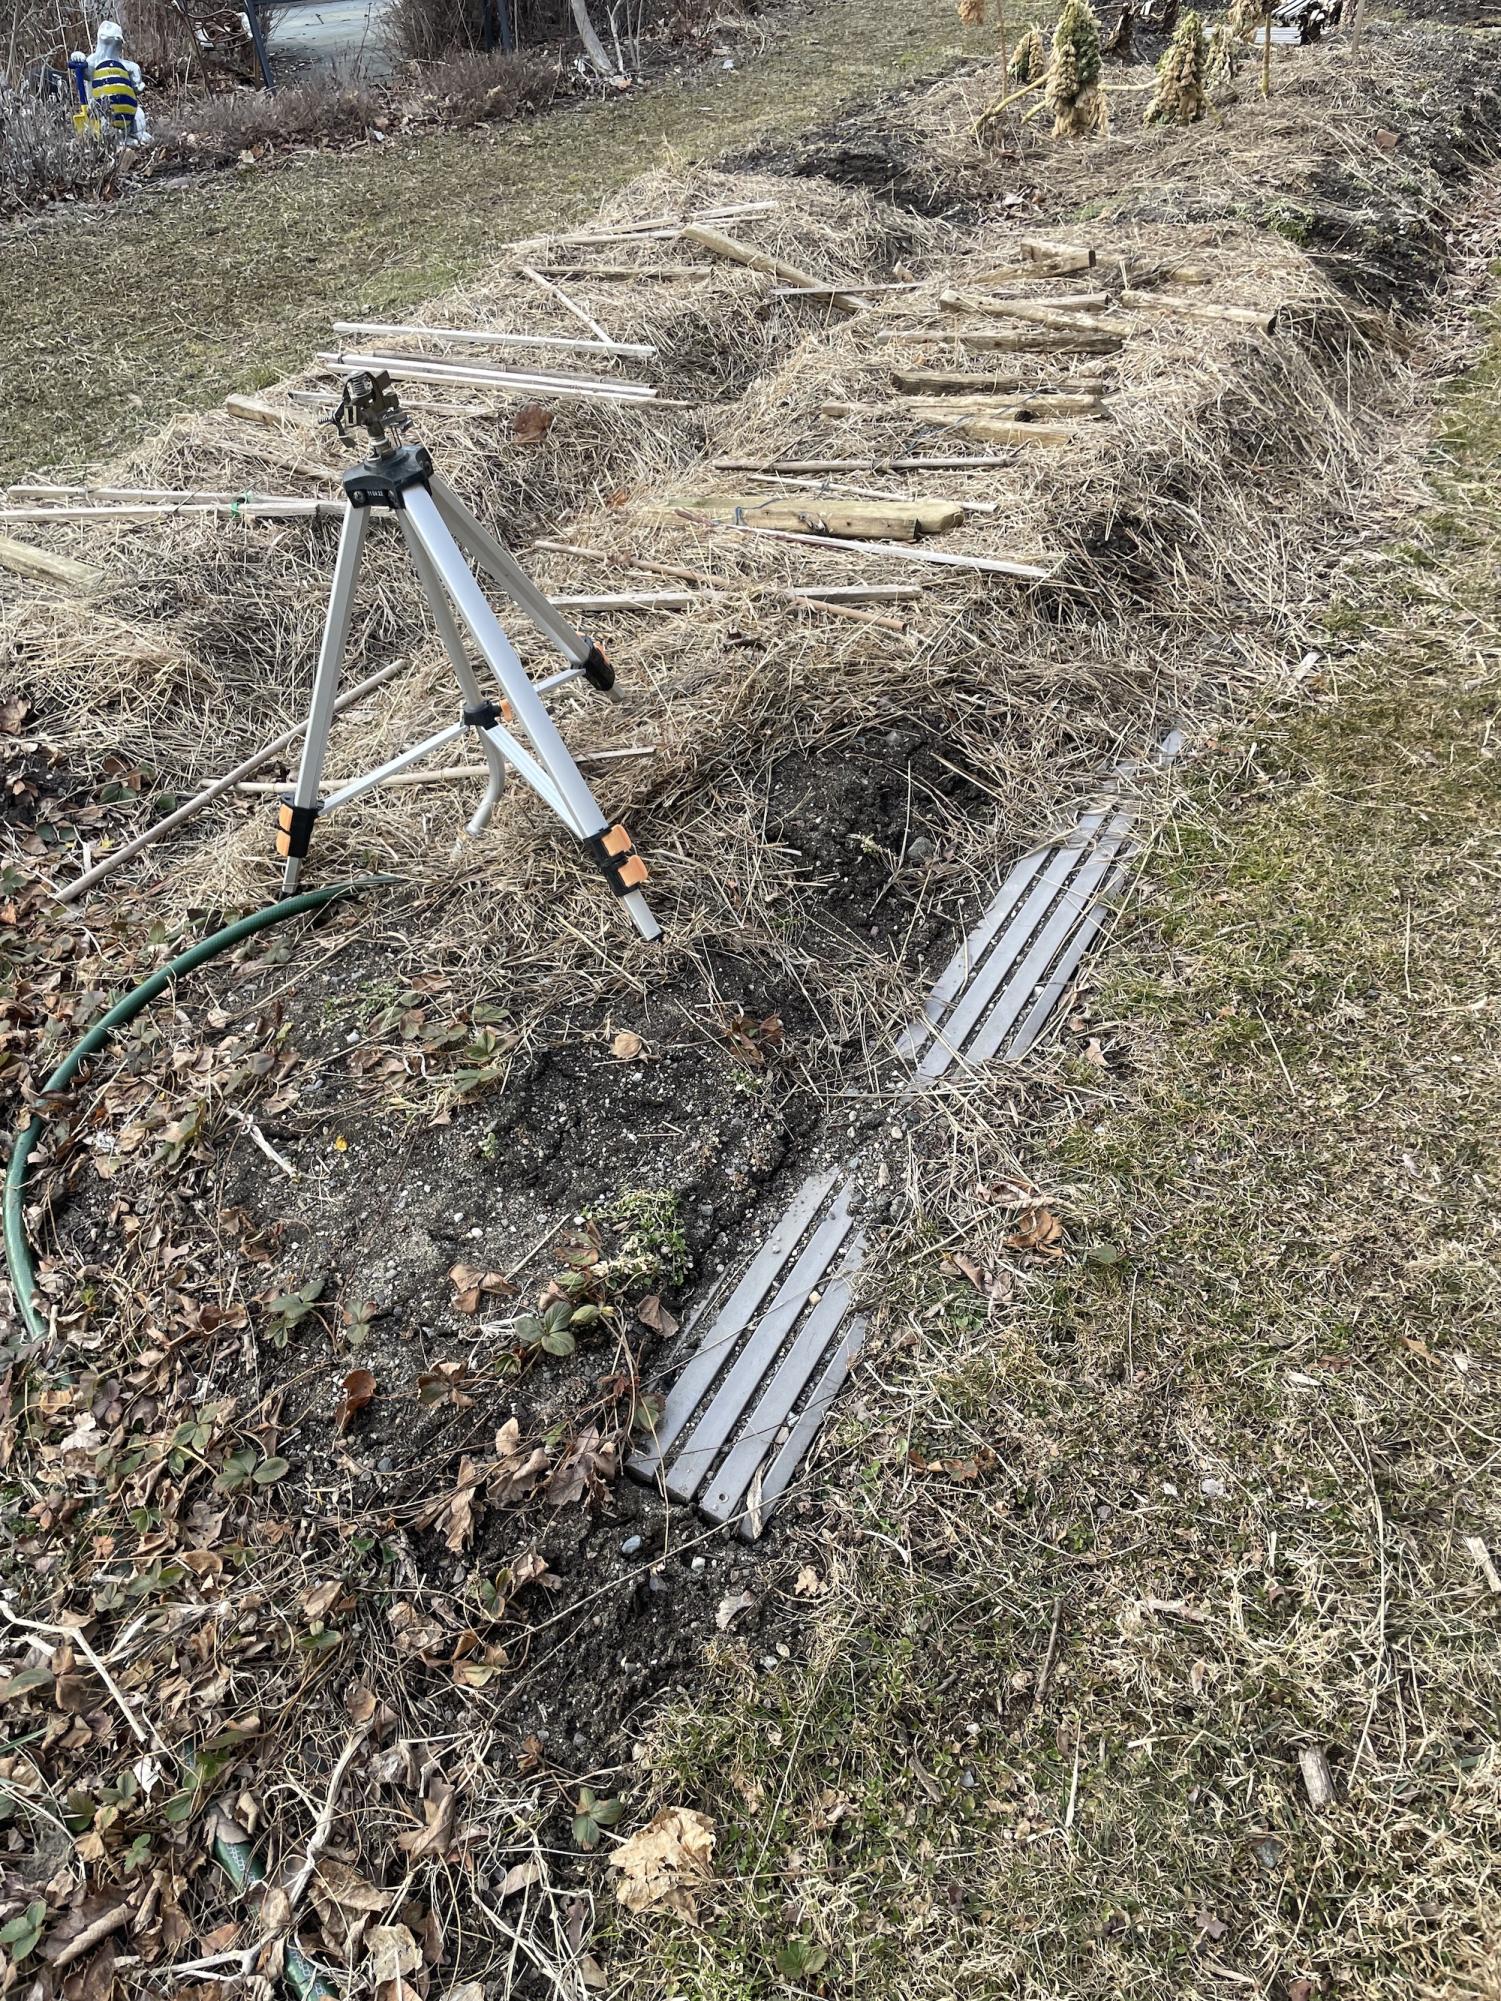
How to go about creating your no-dig bed: choose a sunny area for vegetables, ideally in a row situated south-to-north for prime solar exposure. Mow or weed whack the site if any existing growth is longer than 4 or 5 inches. Source and place plain brown cardboard on the entirety of the garden site – avoid glossy cardboard and remove plastic tape to prevent microplastic pollution in your new bed. Water your layer of cardboard to weigh it down and promote decomposition, then cover the cardboard with 2 inches of compost. On top of the compost, liberally spread mulch (such as straw, leaves, and/or the clippings of your old Christmas tree), and plant directly into the compost once temperatures are amenable to your chosen crops.
Over time, the plants in the bed will root down through the cardboard while sunlight-dependent weeds and grass are suppressed. Continue to add layers of compost and mulch at the end or beginning of the gardening season to replenish nutrients and account for compaction. Right now is an especially great time of year to lay down your no-dig bed as it allows a few weeks for the compost’s goodness to percolate through the soil in time for April planting!
I’ve always wanted to start a garden but have killed a lot of plants in the past. Could you give me some reasons why gardens fail?
Most common vegetables and flowers need only a few things: nutrient-rich growing medium, protection from pests, adequate light, favorable temperature, and water. Easy solutions are offered by situating your garden where it will thrive, light-wise, and waiting for the season’s progression to warm things up, but let’s dig in to some ways to address other issues.
Nutrients
The macronutrients most commonly lacking in garden soil are nitrogen, phosphorus, and potassium. To address a lack of these nutrients, add compost or composted manure at least once a year. For more specific issues, such as blossom-end rot (a disease caused by calcium deficiency that affects tomatoes, zucchini, peppers, and others), amend soil with fertilizers specific to the variety only if problems arise – too much fertilizer is an unnecessary expense and can pollute local waterways. While many gardeners swear by soil-testing (a process that requires collecting a soil sample and sending it into a lab), I’ve always “tested” by seeing what grows and adjusting the amount of compost I add at the beginning of the season or at the end of the next.
Pest Protection
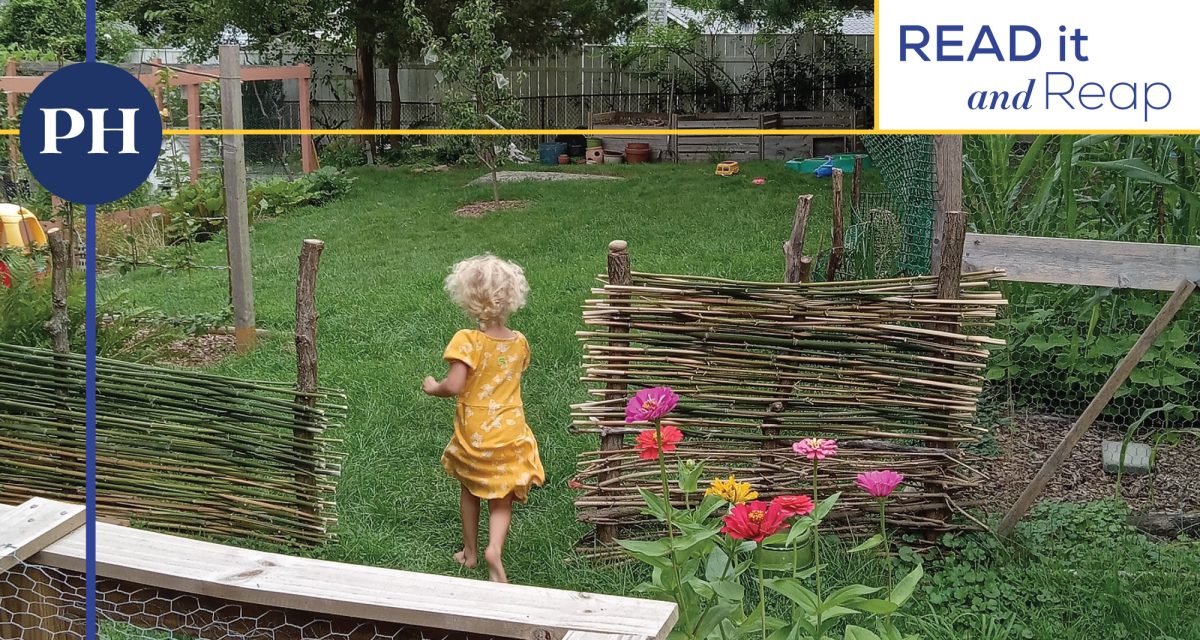
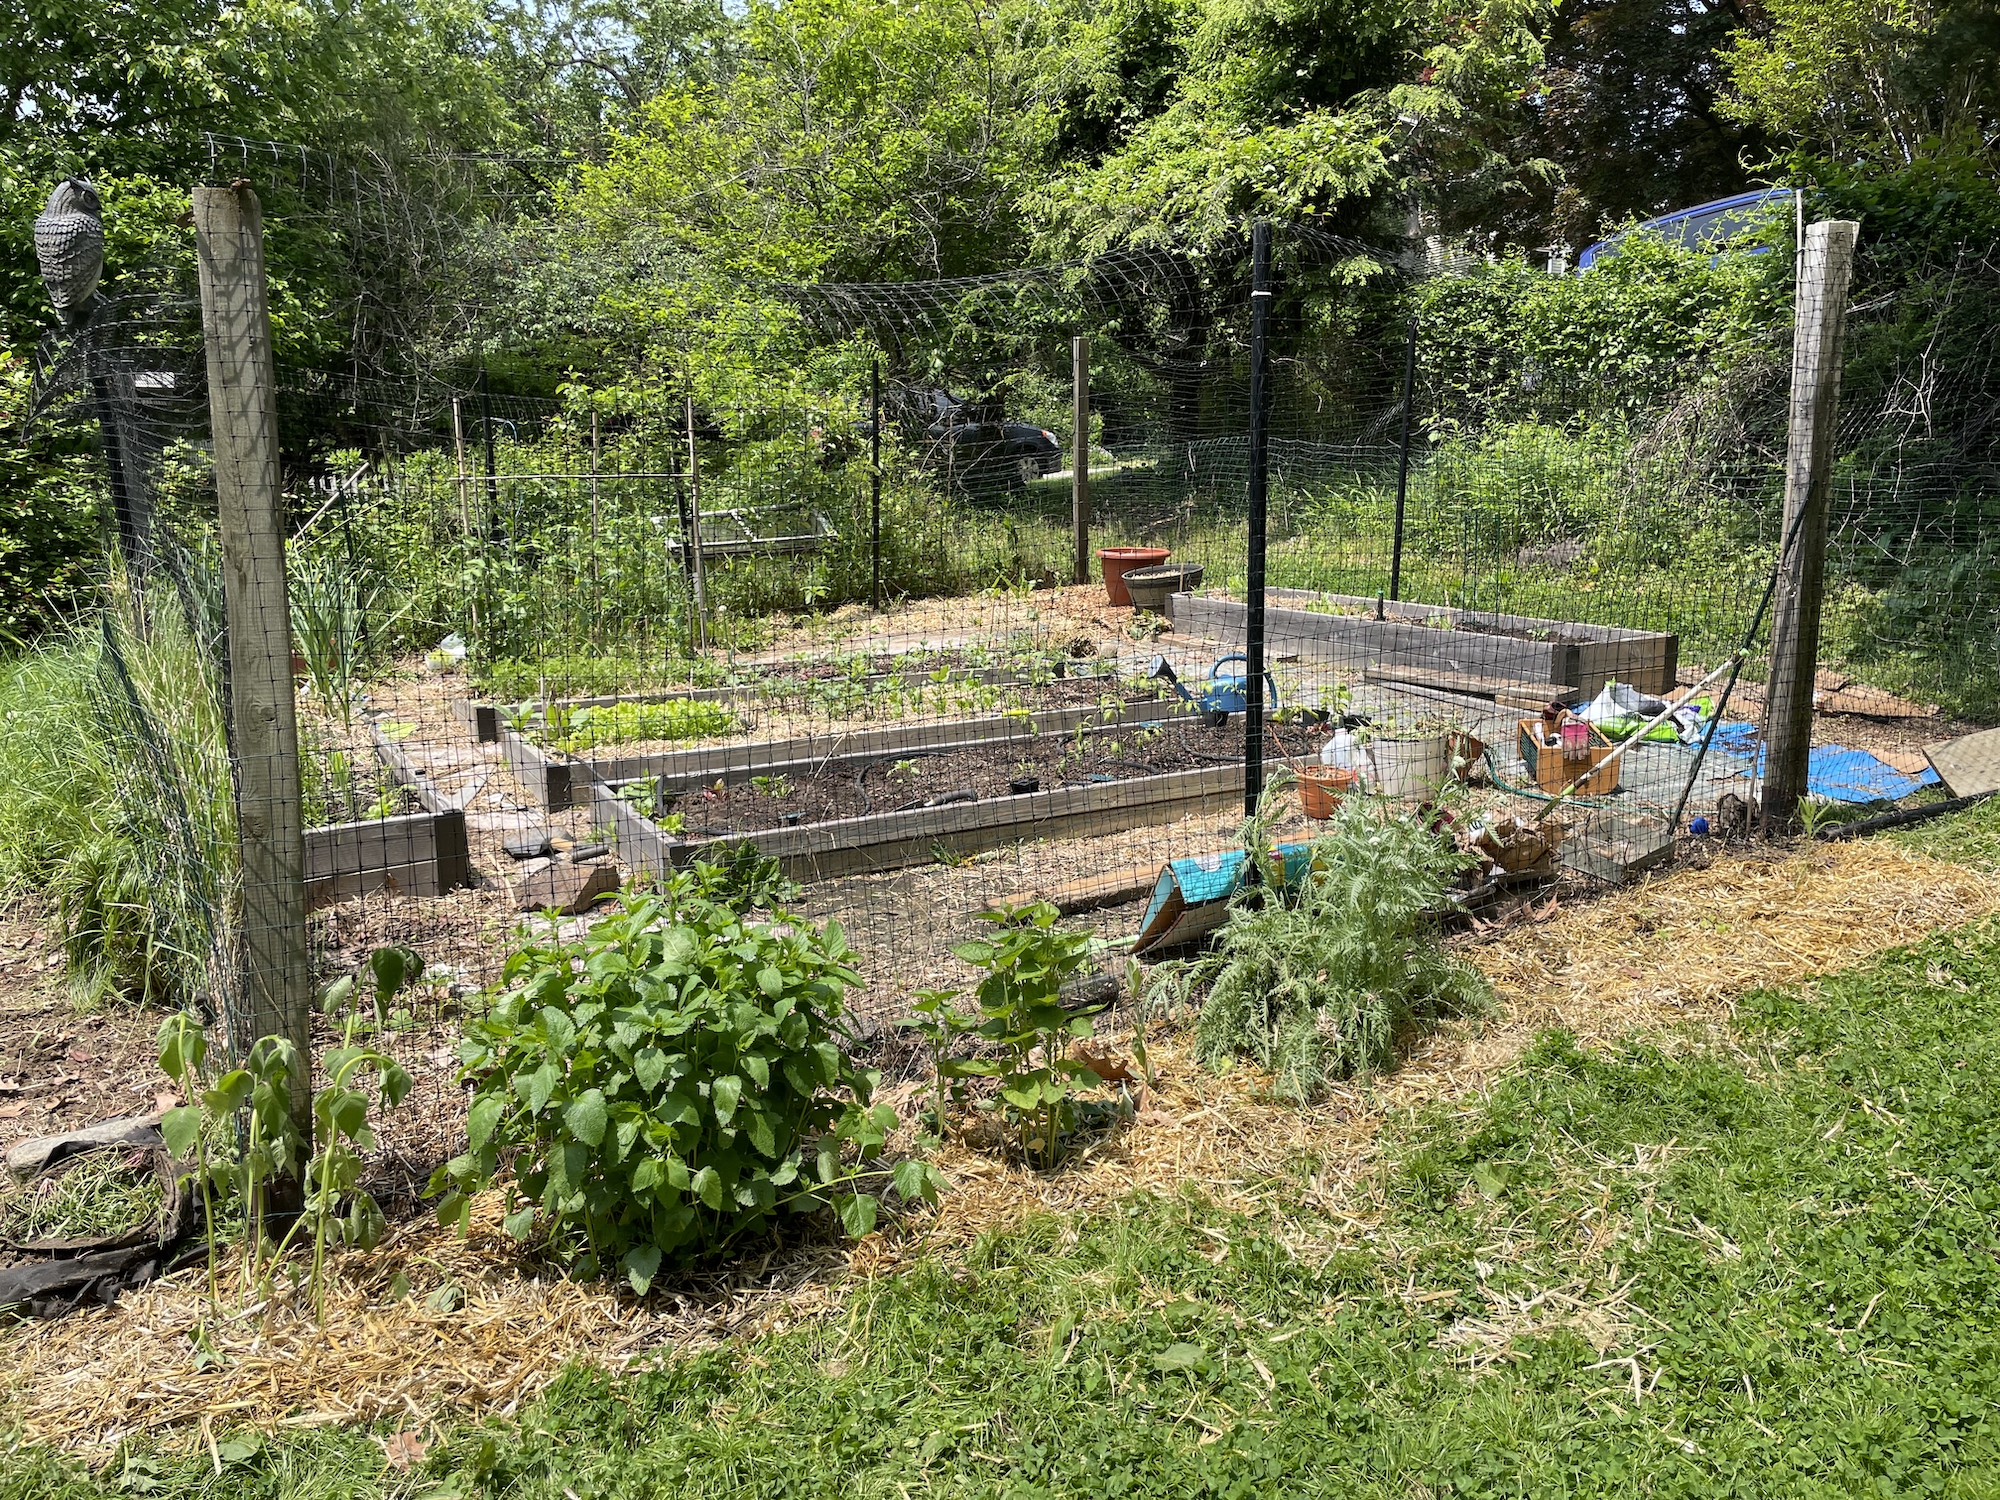
It can be discouraging to spend months raising a crop only to have it devoured by an outside invader. To subvert the will of larger interlopers, like rabbits and deer, install fencing,

taking care to choose materials that are durable and tall enough to be effective (for instance, rabbits and woodchucks can chew through plastic fencing; a fence height of six to seven feet is the minimum to deter deer). Also consider aromatic deterrents: I swear by Irish Spring soap knotted in an old sock, but pungent Plantskydd pellets can be bought cheaply and reapplied after rain. It’s also worth planting plants with strong scents such as marigold, lavender, sage, mint – even onion, chives, or garlic. Many insect munchers can be deterred by spraying a solution of water with a few drops of dish soap, or a trap crop of something tastier with less appeal to human diners – I like to lure cucumber beetles away from my future pickles with amaranth, for example.
Mulch
I ardently believe much of what’s wrong in a garden can be fixed with mulch. Although bare soil can be helpful at the very beginning of a plant’s life (direct sunlight stimulates the seed to grow), mulch regulates the temperature and moisture level of a plant’s roots. Useful microorganisms like mycorrhiza (essentially, little fungal threads that optimize a plant’s nutrient use) can hitch a ride into your garden on the leaves or straw you mulch with. Plus, when the organic materials in mulch break down throughout the season, vital nutrients like nitrogen are released into the soil and act as free fertilizer. Application of mulch also inhibits weed growth. (A word of caution, however – ”softer” mulches like leaves and straw are best in garden beds, as wood chips can require too many of the nutrients your plants need to break down.) Finally, mulch is a great and cheap way to use up the leaves that you leave in the fall!
Water
It has happened that a garden, planted in the spring, makes it until autumn without the intervention of a hose or watering can, but this is essentially a plan to fail – even more so in a climate as fickle as ours. It may seem like overkill to lay drip hoses on “empty” beds that have recently been blasted by spring showers, but putting hoses in once plants establish can crush delicate seedlings. Consider an irrigation system now as part of your garden set-up, whether that’s budgeting time to hand-water consistently or installing drip-hose systems that are available at big-box gardening centers. Depending on your resources and level of tech-savvy, there are even drip-hose systems that can be automated to water with the tap of an app, but I’ve found it easy enough to rig up my hoses so that I only need to turn on (and crucially, turn off!) the spigot. The bottom line is that well-watered vegetables are healthier and tastier, too. And as stated above, don’t forget mulch, which will retain the moisture you’ve worked hard to distribute in your soil!
What are some fail-proof vegetables that you’d recommend for the novice gardener?
Now that your bed is prepped, ready to water, and fenced in from predators, the true magic begins. What ends up in a vegetable garden is the owner’s choice, but opting for foods you and your family like to eat is a great place to start. Second, consider the tastiness of a garden-grown vegetable over their store-bought counterpart. Keeping this in mind, as well as the relative ease of care to raise each plant, I endorse planting the following vegetables:
Early Plants
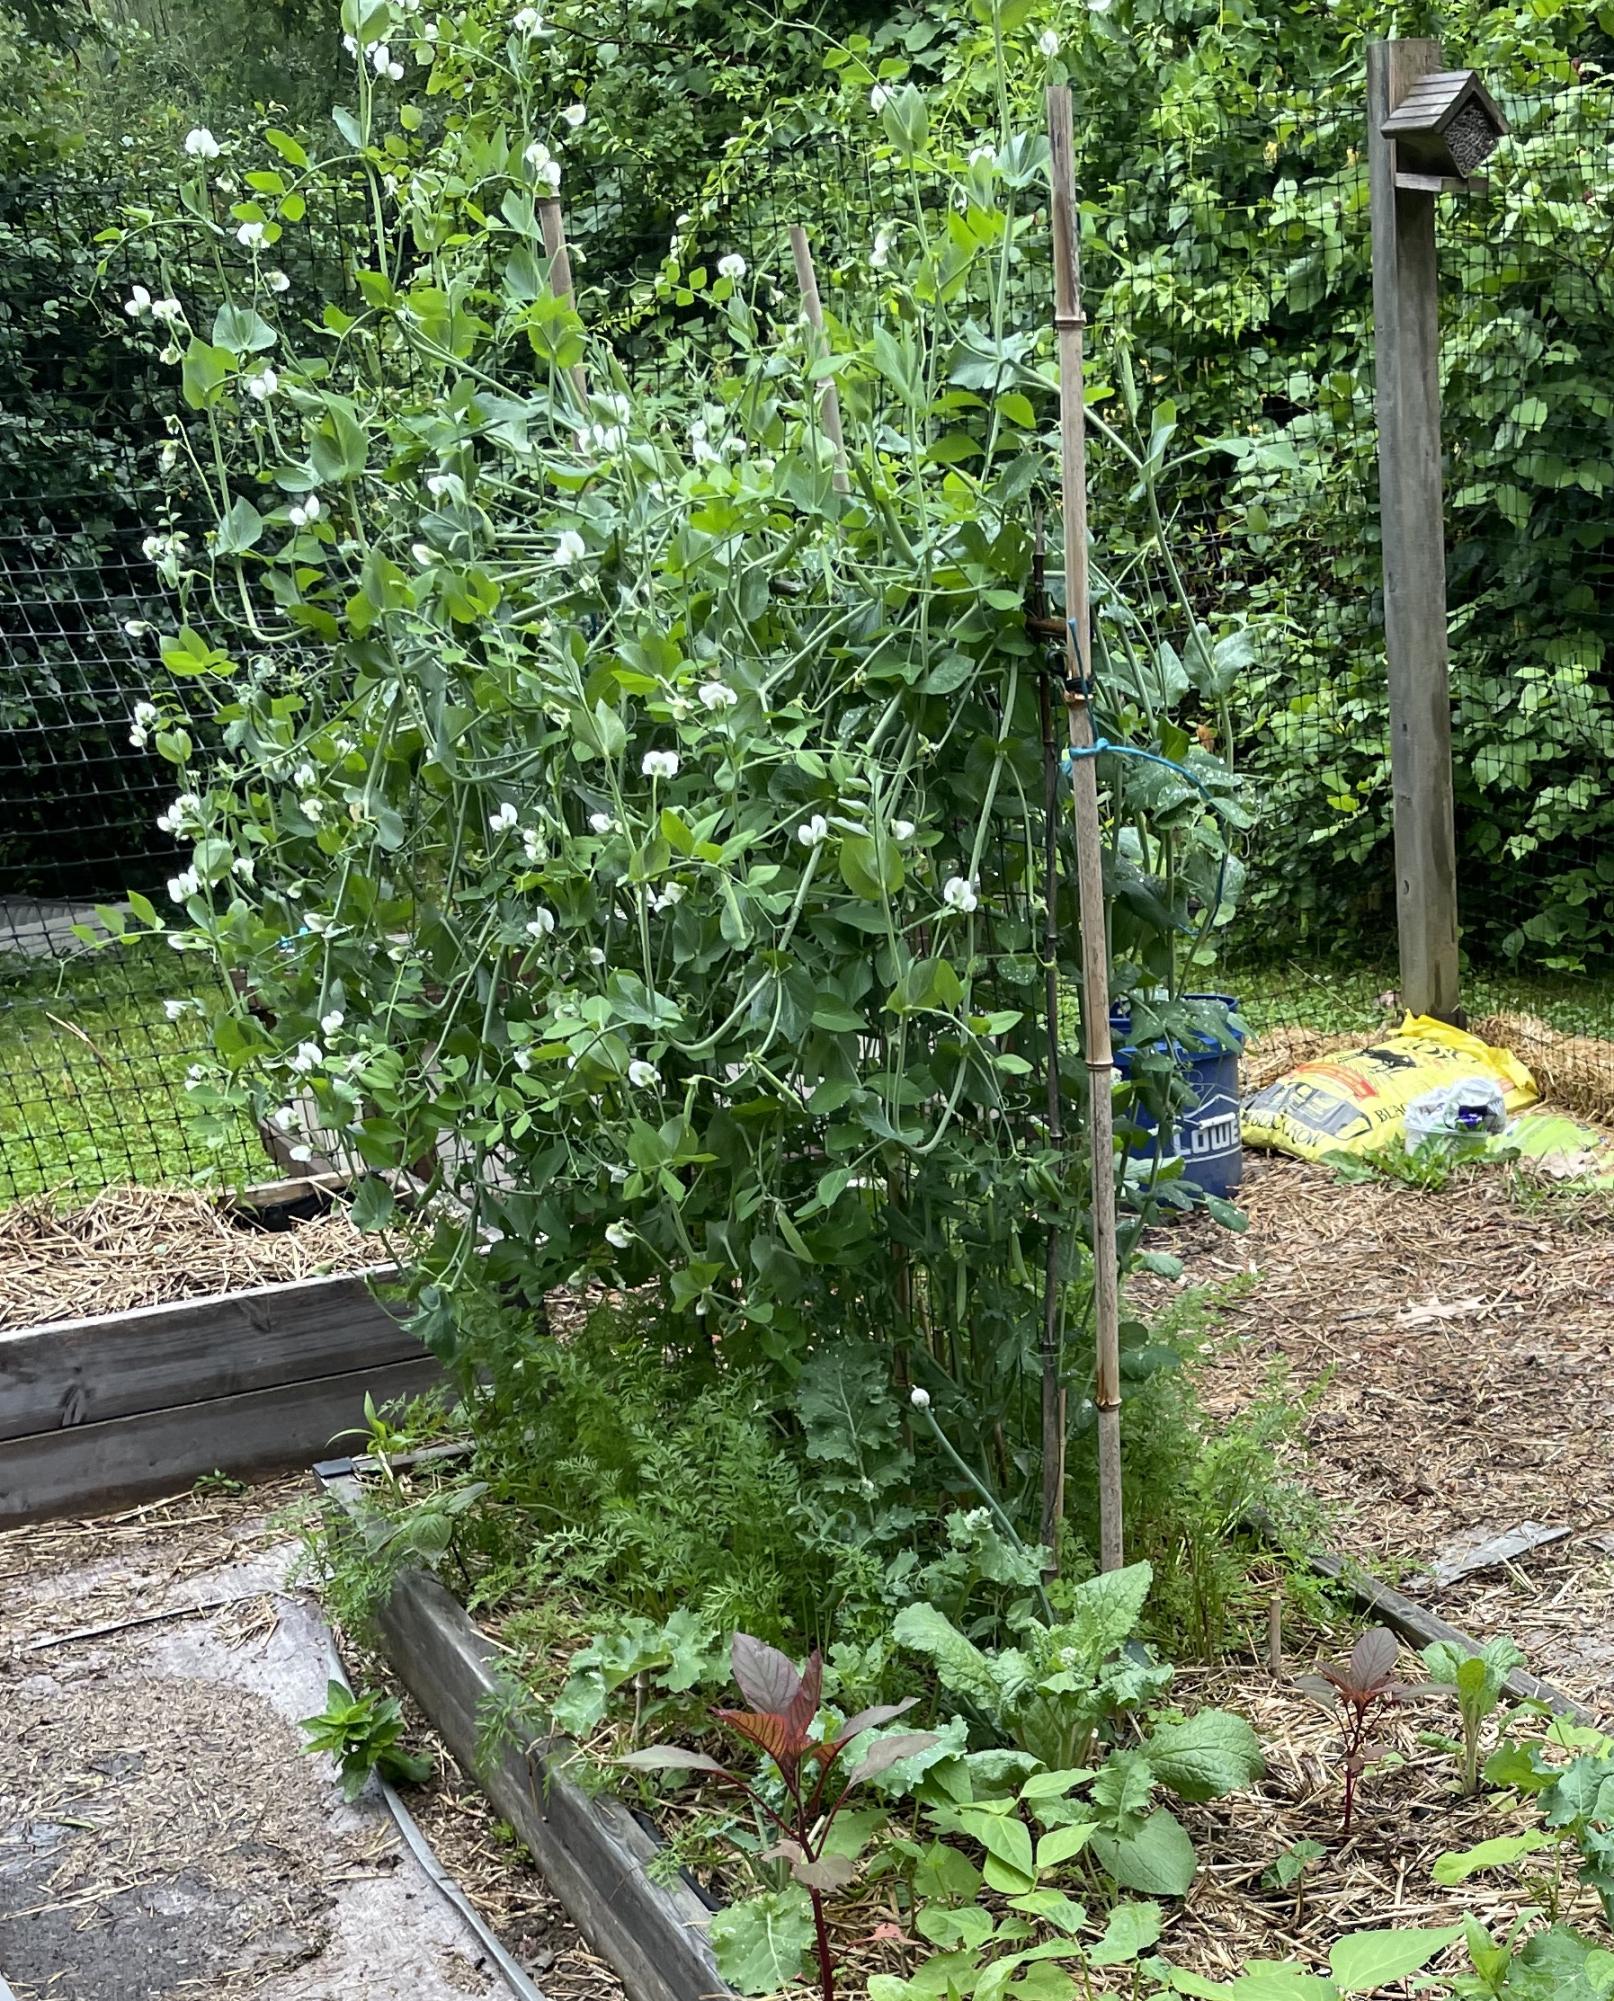
To have an entirely home-grown salad by summer solstice, get these seeds in the ground by the end of March. Don’t worry about frosts affecting these hardy early veggies; the abundance of sugars in their cell makeup prevents frozen dew from damaging them. Two such crops, lettuce and sugar snap peas, can even be planted in the same bed as they’re traditional “companion plants,” that is, plants that when sown together improve the overall health of both crops. This early planting will require a trellis or stakes for pea plants to climb, but there are many low- to no-cost solutions including upcycling an old baby gate or tying twine at regular intervals on metal fence posts.
Lettuce: make a shallow indentation (no more than a quarter inch deep) and sprinkle lettuce seeds in the depression. Cover seeds with a scant layer of soil and apply light pressure over the sown indentation; water well. As seedlings turn into actual one to two inch tall plants (about a month after sowing, depending on weather), thin the crop by snipping or pinching so that the remaining lettuce plants are two to three inches apart. Use the thinned baby lettuces in a salad or as you would microgreens.
Sugar Snap Peas: These large seeds benefit from being soaked the day before. Simply immerse the amount you’re going to plant in a cup, cover with water to plump up, and plant 24 to 48 hours later. (Before sowing is also a great time to install your trellis.) To sow, make divots one to two inches apart, and about 1.5 inches deep. Place the pea seeds in the divots, fill with soil and firm over. Water well at planting and as the seedlings germinate, then wait about two months for this pea variety which can be eaten whole or shelled.
Later Plants
These next two varieties are planted once the threat of frost has passed, which is usually late April for our region. Because they thrive in warm temperatures while peas and lettuce may falter once the temperature rises above 80 F, you could even plant them all in the same bed.
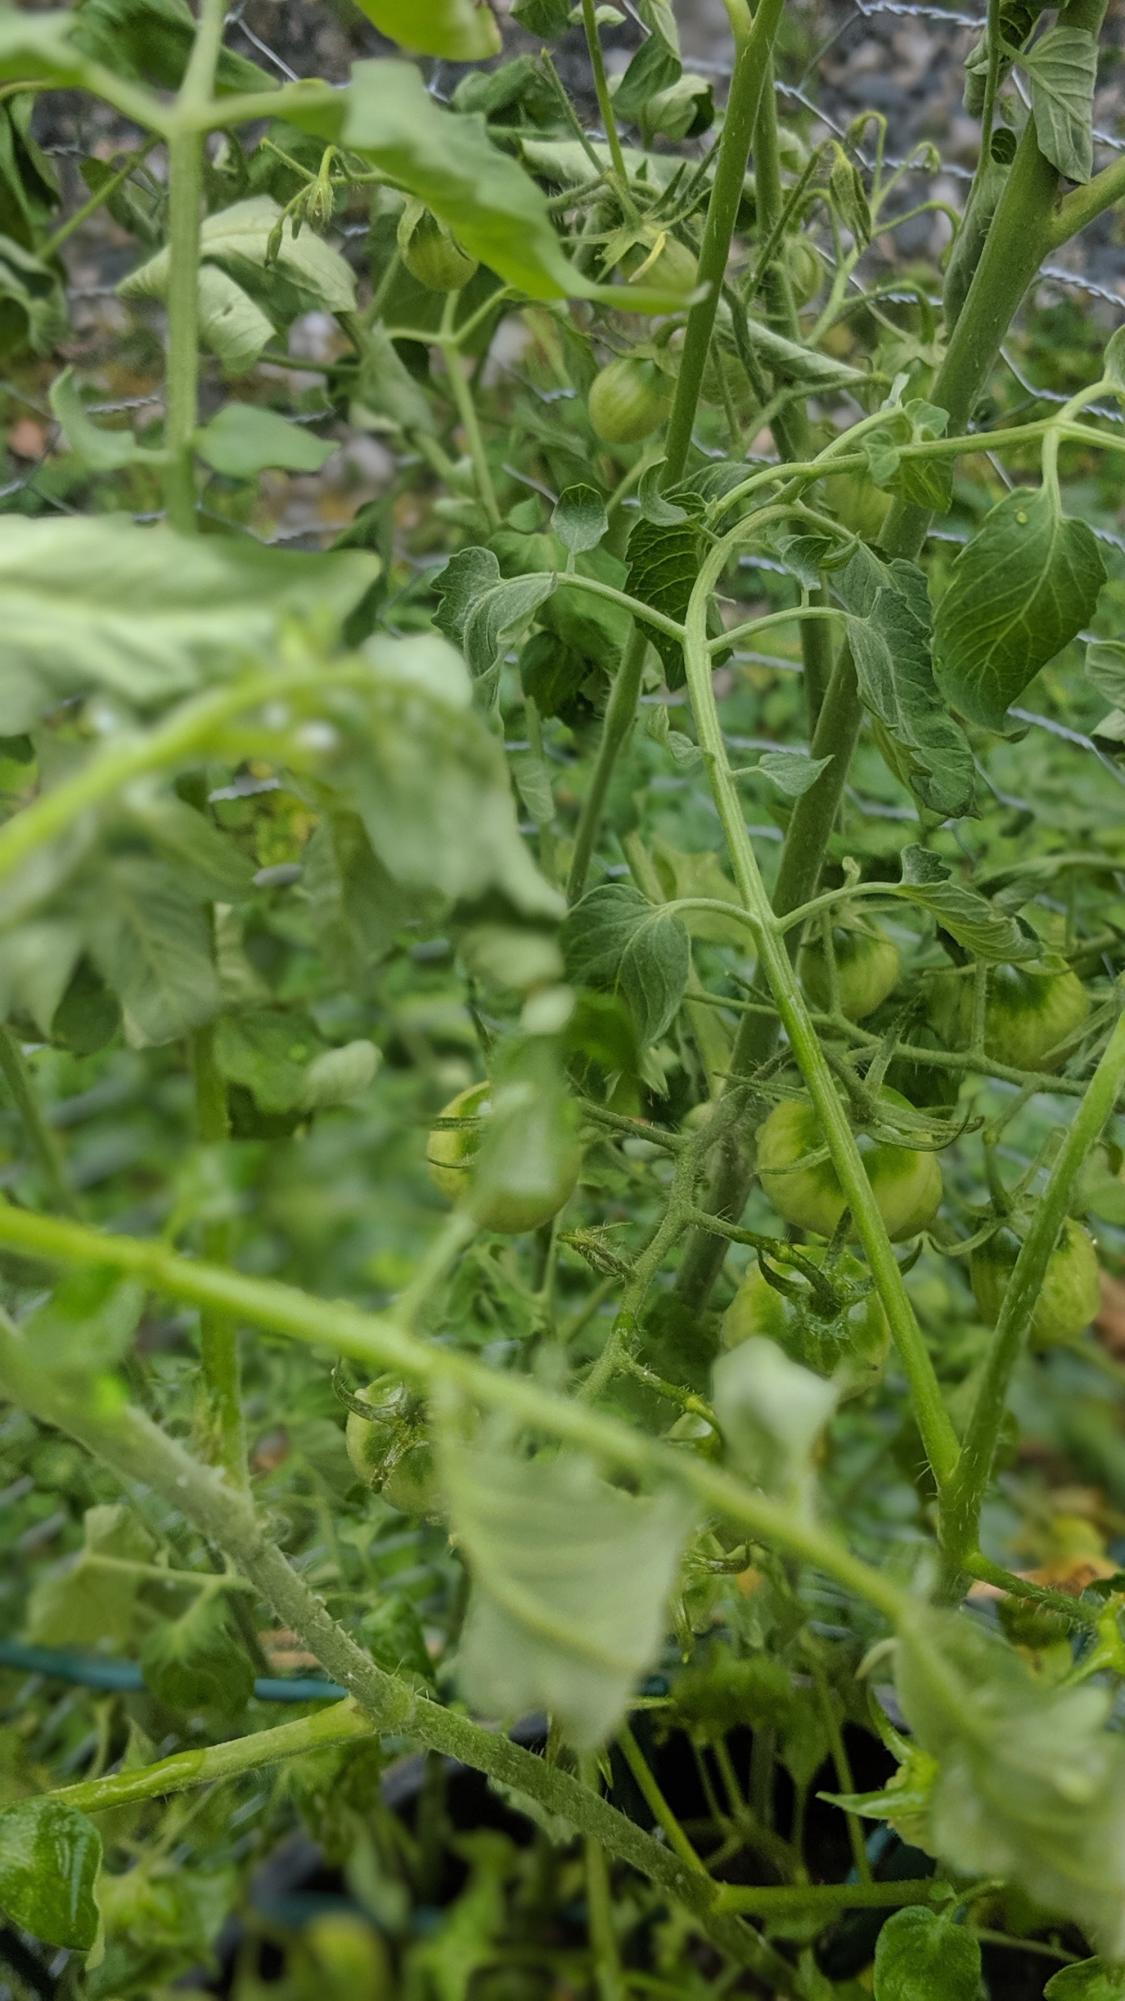
Tomatoes: Keeping ease at the forefront of this effort, buy tomato seedlings rather than raising them from seed. Be sure to harden them off for a few days before popping them in the ground – this is as simple as keeping them in a shady area for two or three days, taking care to bring them in if nights are unseasonably cool or windy. This will acclimate young tomato plants, usually grown in greenhouses, to being outdoors. Dig holes at least twice as deep as the rooted part of the plant and add about a cup of compost into the holes. Strip leaves from the sides of the tomato seedling before burying it deeply – as long as there are multiple leaves at the top of the plant, its stem will develop root nodules that strengthen the plant so it can flourish. Water the newly planted tomatoes well and stake once they reach six to seven inches tall. Get ready to enjoy the unparalleled taste of fresh tomatoes toward the end of July.
Bush beans: Whether eaten raw, steamed, or preserved as pickled dilly beans, I cannot get enough of bush beans – it’s the one vegetable that I reliably succession-sow (plant at regular intervals so that harvest continues for weeks). Plant bush beans – my favorite is the Provider variety – at the same time as tomato seedlings by making one inch holes, two inches apart. Cover and firm over soil, and water well. This variety, Provider, is an early producer, meaning that you could be feasting on delicious homegrown beans by July. I succession sow these two weeks apart to ensure a constant summer supply.
With a little work and planning, you can begin to enjoy the rewarding experience of growing your own food.
Have another “getting started” question for Lucy? Interested in what Peekskill’s gardeners are planning to put in their gardens? Email her at [email protected], and read it and reap!